Use WSL2 And Docker To Develop Your WordPress Site On Windows 10
Using WSL2 and Docker to develop your WordPress site can really speed things up. Here’s how to set it up

Last Updated: January 28th, 2022
By: Steve
Contents
When developing a new WordPress website it can often be prudent to do your development work locally and then upload your changes to your live site. This is especially true if you’re developing a WordPress plugin or theme. If you’re looking at developing an actual site (ie, changing the content and layout) you might want to consider using a WordPress Hosting service that supports staging servers so you can make changes in the background without upsetting your live site. Either way, using WSL2 and Docker to develop your WordPress site can really speed things up.
Why Use WSL2 And Docker To Develop Your WordPress Site on Windows 10?
Firstly, it’s important to note that WSL2 is the second iteration of Microsoft’s Windows Subsystem for Linux. Which is a bit of a wrong name, it’s more of the Linux Subsystem for Windows but never mind – the facts are that WSL allows you to run Linux programs under Windows.
Most WordPress installations use Linux. And MariaDB or MySQL. And NGinx or Apache. All of which arguably run better on Linux. All the documentation you’ll find online tends to assume you’re running them on Linux so if you need any help, you’ll probably want to be running them on Linux too. It’ll make fault finding much easier.
WSL2 is lightweight and allows you to use the free, and pretty good, Microsoft Visual Studio Code editor to make any code changes you want to do. There is a version of MS Visual Studio Code available for running directly on Linux and if you have the hardware available I’d recommend using Linux directly. But – WSL2 is an excellent choice if you want to use both Windows and Linux at the same time.
Getting Started – Installing WSL2 on Windows 10
There’s a vast amount of tutorials around for setting up WSL2 on Windows 10 so we won’t go into massive detail here. Our favourite article includes how to set up a full Graphical User Interface for Linux on WSL2 – as well as of course just setting up the normal parts of WSL2.
However if you don’t want the GUI as well (and you don’t need it) then follow these instructions;
Update to Windows 10.2004
In order to run Docker on Windows you’ll need WSL2 because Docker relies on a few things that WSL1 can’t do. To install WSL2 you’ll need Windows 10.2004 – which is the May 2020 update. If you installed the latest updates from Microsoft you’re probably good to go. If it’s not, you can get the Windows Update Assistant and get it that way. You can find the Windows Update Assistant by clicking here. Install the 2004 update and follow the instructions to make that happen.
Setup Your Windows 10.2004 to enable installation of WSL2
There’s tutorials available for this on Microsoft’s website. You can find this at https://docs.microsoft.com/en-us/windows/wsl/install-win10 – it’s fairly straightforward but does require some command line interaction, either using PowerShell or CMD.
If you’re not familiar with the new Windows Terminal program for accessing Powershell, CMD or WSL then I definitely recommend you checkout Windows Terminal by clicking the link – https://www.microsoft.com/en-gb/p/windows-terminal/9n0dx20hk701?rtc=1&activetab=pivot:overviewtab – it makes working with Linux on Windows much more pleasant. It also makes working with PowerShell much nicer too.
Install the Linux Distro Of Your Choice Into WSL2
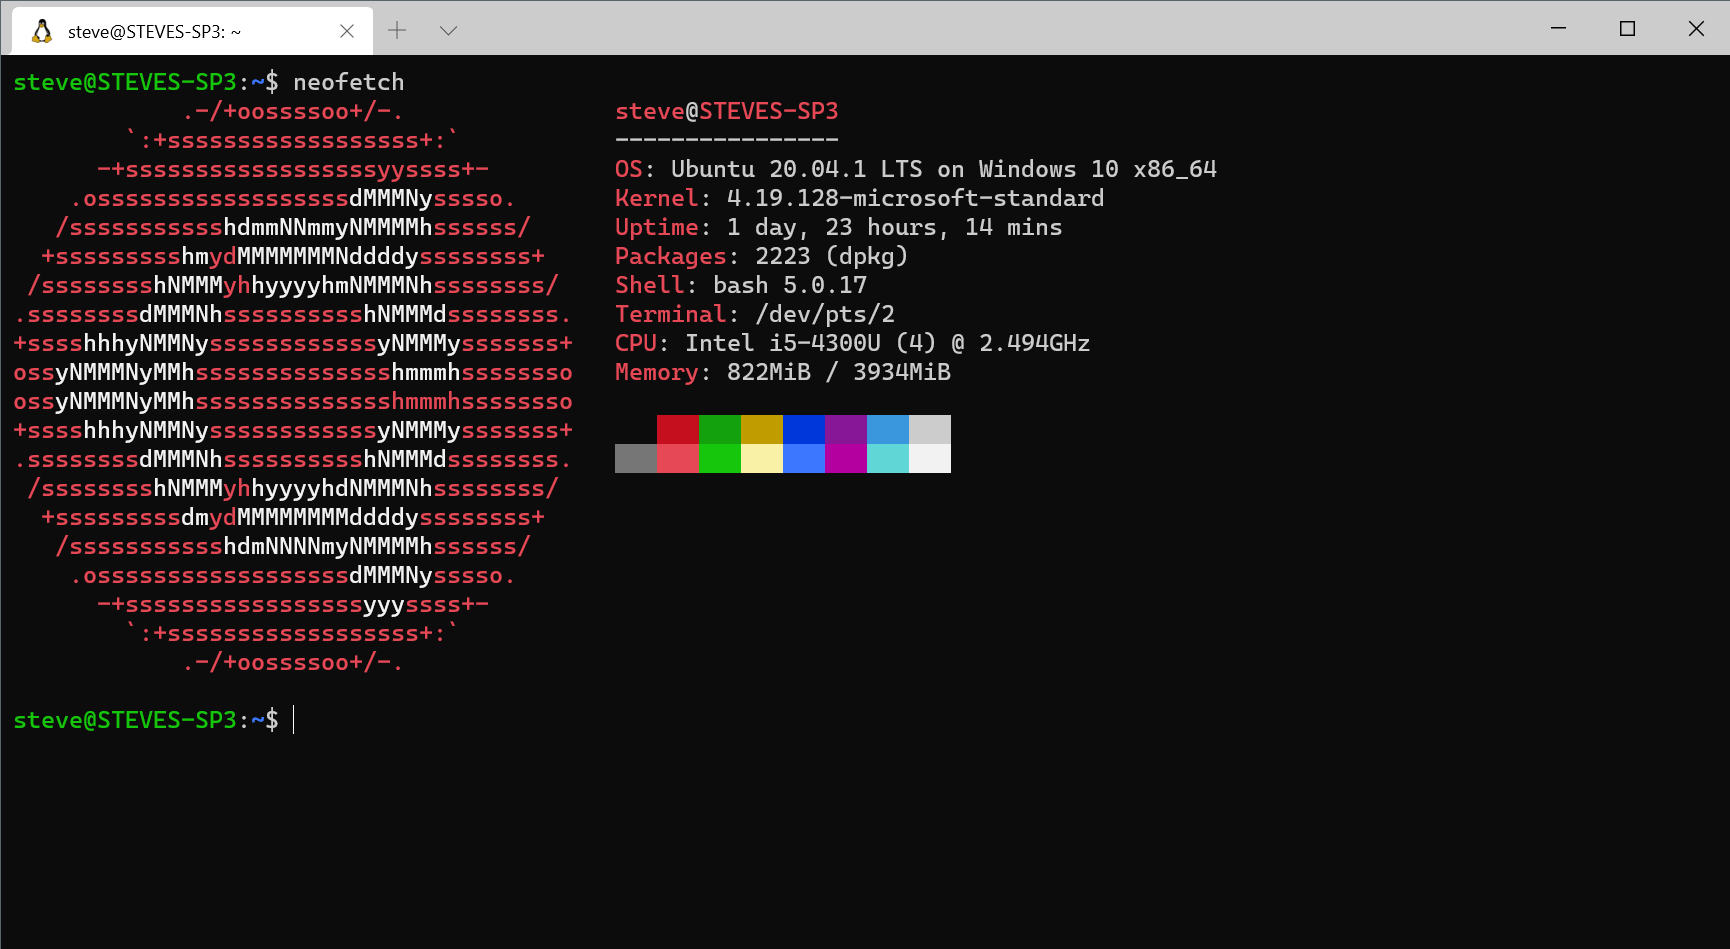
There’s a few Linux distributions available on WSL2 – currently the most popular being Ubuntu 20.04 Focal Fossa. This is the distribution I’m using and if you’re not overly familiar with Linux there’s a lot of really good documentation and help for Ubuntu. Also there’s lots of packages readily available for Ubuntu since it’s based on Debian.

These days I prefer running Artix on WSL with KDE instead of Ubuntu as it’s a lot faster, uses less RAM and doesn’t have SystemD so it’s actually more suitable for WSL really. But Artix isn’t going to hold your hand as well as Ubuntu and the documentation relies on you searching for ArchLinux instead so your mileage may vary. But I do recommend Artix – it’s my daily driver now.
What Is Docker For Windows?
Before we actually install Docker for Windows, for those of you that aren’t sure what the benefits of Docker are I’ll quickly run through them. If you don’t want Docker you can of course run all the LAMP or LEMP applications by installing them from Ubuntu’s apt repositories. But that approach requires configuring each one individually.
Docker makes this much easier because the application developers generally have already pre-configured much of the application to work straight out of the box.
Install Docker For Windows
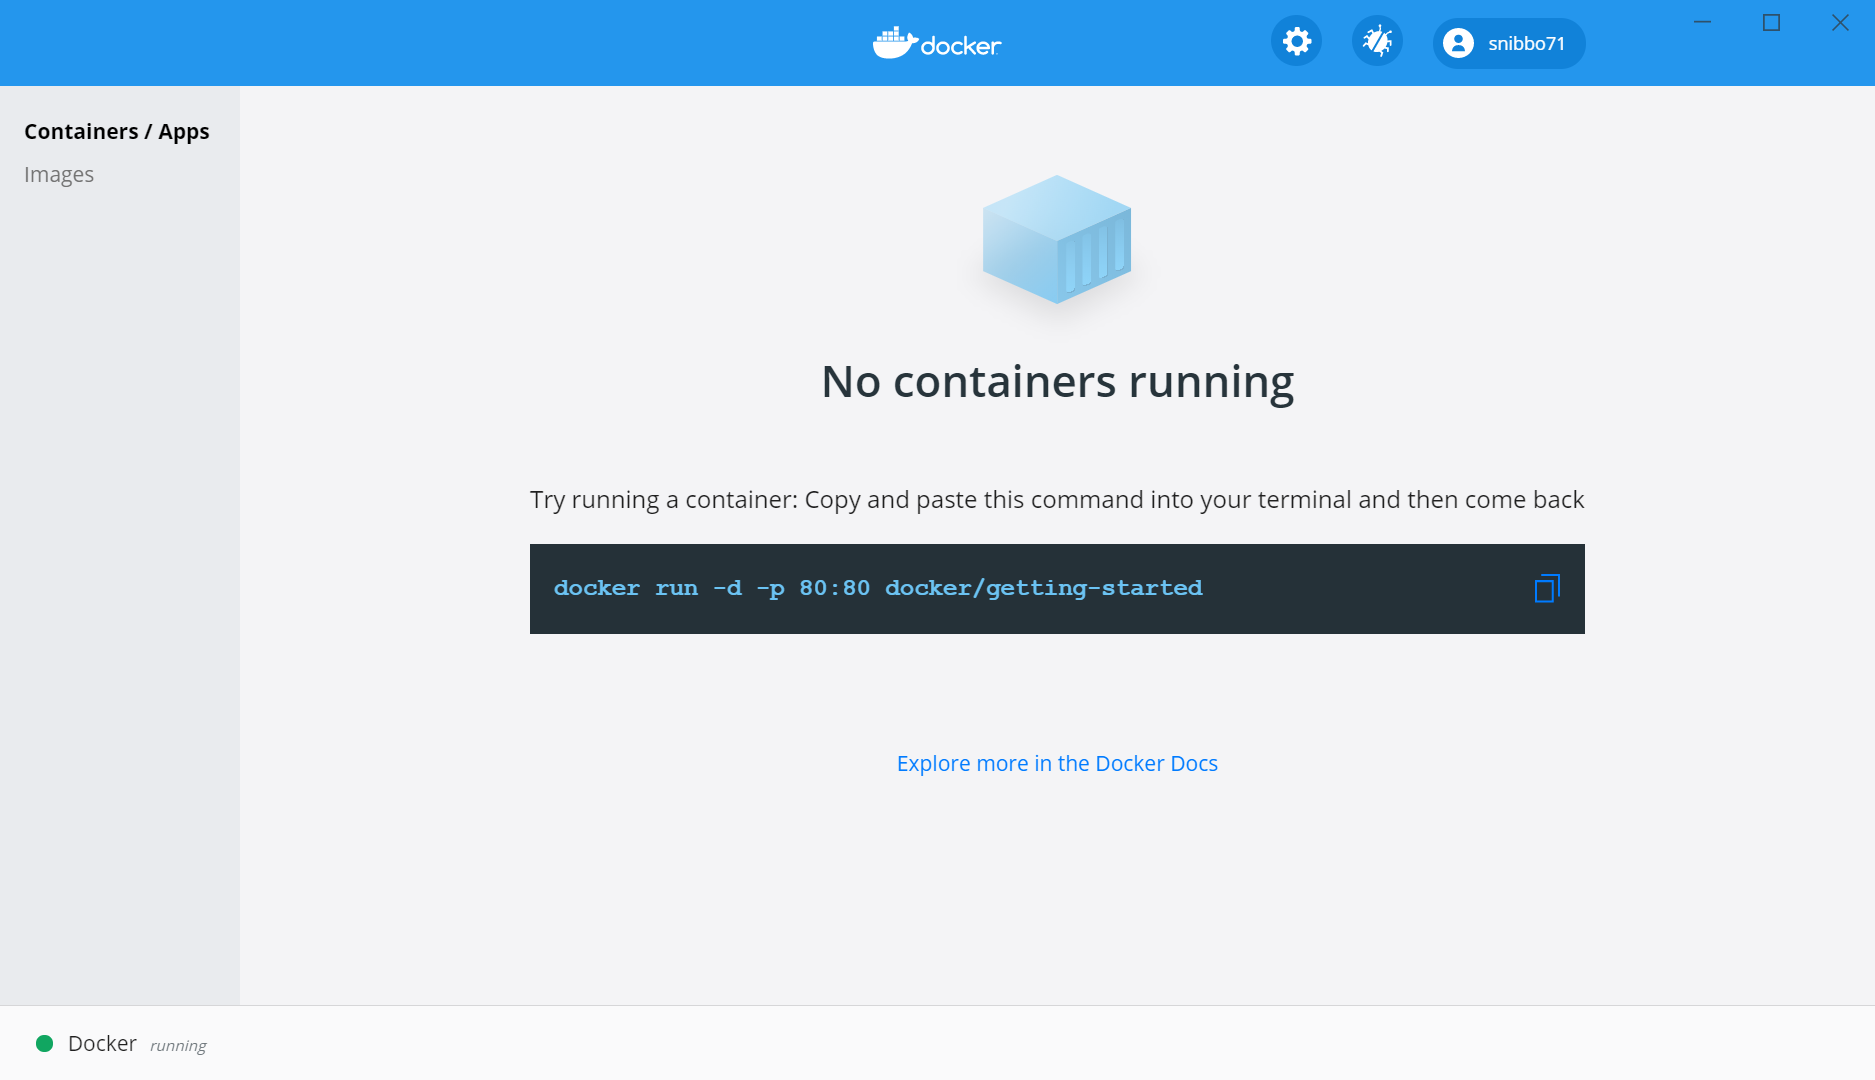
Installing Docker for Windows is very straight forward and is well supported by the Docker developers. To install Docker for Windows, visit https://hub.docker.com/editions/community/docker-ce-desktop-windows/ and download the latest version. When it’s finished downloading, double click on it and install it. You will need a WSL2 installation in place before you install though so make sure you have done that.

Check The Installation
Open up the Microsoft Terminal or whichever way you get to your Ubuntu on WSL installation and type the command;
docker run hello-worldYou should see some output from the command, almost a screenful and it should say something like;
Hello from Docker!
Docker Developers
This message shows that your installation appears to be working correctly.
If you don’t see the message, but instead see an error then you need to check to make sure that your WSL2 installation is selected in the Resources section of the Docker Desktop, under WSL Integration. Most errors come down to an integration problem – though usually it’s as a result of uninstalling and re-installing a WSL instance while Docker Desktop is already installed.
Install Microsoft Visual Studio Code
Once WSL2 and Docker Desktop are installed and running, it’s time to install a development environment.
You can use native Linux tools for this (though not the GUI tools unless you installed the full desktop environment using the tips at the beginning of the article) such as Vim, Nano or Joe’s Own Editor ( Joe ) which is still my favourite.
But, we don’t run Windows so that we can edit things in a text editor using a terminal emulator. Not when there’s decent IDEs available these days and VS Code is a good, flexible, multi-purpose editor environment which integrates really nicely with WSL2 and Docker (and Git, and PHP)…
Visit https://code.visualstudio.com/ and download the latest stable version for Windows, and install. It should automatically integrate with WSL2 for you, so long as the WSL2 installation is already up and running when you install VS Code.
Create a Project On WSL2
We now have the environment all set up and ready to run, and you might think that now we need to install Apache (or NGinx), MariaDB (or MySQL) and PHP. And then WordPress.
You’d be wrong. We don’t need to do any of that. All we actually need to do is to create a project directory. In my case I simply called mine Projects/MyProject1. To do that open your WSL Terminal and type the following command;
mkdir -p ~/Projects/MyProject1 ; cd ~/Projects/MyProject1And then;
code .Which will bring up the VS Code IDE.
Create a docker-compose.yml
Docker Compose is a tool which enables you to specify whole projects to be downloaded, configured and ran by one configuration file. This makes deploying projects really really simple and means you don’t need to rely on remembering lengthy command lines and such like to get something running.
Docker-compose.yml is the file which controls all this. To create a docker-compose.yml, it’s easiest to use VS Code. Then, to almost immediately get yourself a blank WordPress installation to play with, you just need to copy the example docker-compose.yml file below;
version: '3.1'

services:

  wordpress:
    image: wordpress
    restart: always
    ports:
      - 80:80
    environment:
      WORDPRESS_DB_HOST: db
      WORDPRESS_DB_USER: exampleuser
      WORDPRESS_DB_PASSWORD: examplepass
      WORDPRESS_DB_NAME: exampledb
    volumes:
      - ./wp:/var/www/html

  db:
    image: mysql:5.7
    restart: always
    environment:
      MYSQL_DATABASE: exampledb
      MYSQL_USER: exampleuser
      MYSQL_PASSWORD: examplepass
      MYSQL_RANDOM_ROOT_PASSWORD: '1'
    volumes:
      - db:/var/lib/mysql

volumes:
  db:
This will set up WordPress to run on an Apache server as the web server and MySQL as the database server. You’ll notice that the volume option for WordPress is set to ./wp – this will create a directory under ~/Projects/MyProject1 called wp and in it you will find the WordPress installation, along with any plugins, themes and mu-plugins you wish to develop.
It’s probably worth changing the default settings for the database in that file… If you change a setting in the WordPress section be sure to change the corresponding section in the db section. The great thing about using WSL2 and Docker to develop your WordPress site is that all configuration for all necessary services is done through this docker-compose.yml. You don’t need to remember which files control MySQL. Nor which files control Apache. Nor which control WordPress. It’s all there in the one file. And that file is part of your project if you want to store it in source control.
To download the necessary files and start the processes it’s not a simple case of issuing the following command;
docker-compose upThat’ll start the WordPress and database instance and show the log files on the terminal. If you want to stop the instance simply press CTRL-C and they’ll gracefully shut down.
If you want to run the Docker instances as background processes you can issue the following command instead;
docker-compose up -dThe -d flag tells Docker to ‘detach’ the process and run it in the background instead. If you look at the docker-compose.yml file that we created earlier, you’ll notice a couple of lines in there that say restart: always – these lines are used with the background task flag to tell Docker Desktop to automatically relaunch these processes if they fail or if the computer is restarted.
To stop the processes use;
docker-compose downFinal Setup Items
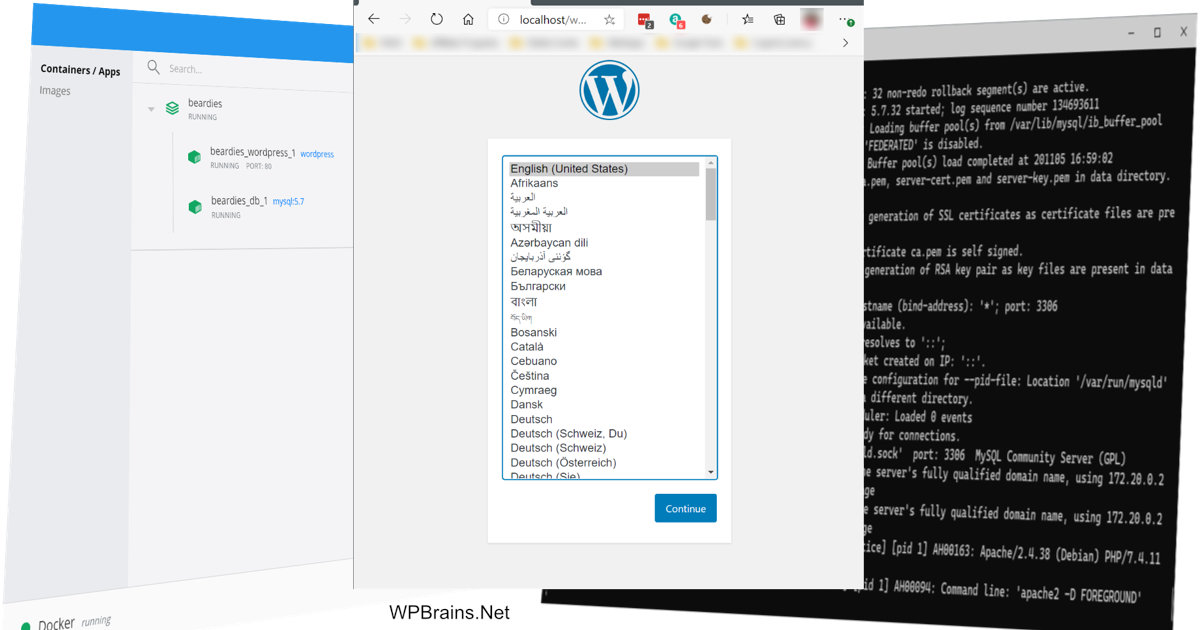
Obviously, in order to develop on a local WordPress system you’re going to want to actually browse to your WordPress installation. To do that, just open up Microsoft Edge, or Firefox, or Brave Browser, whichever you prefer – and browse to http://localhost which will be your new shiny, uninitialized WordPress setup.
If you decide you’d rather call it something like http://development.wsl or something like that, then you’ll need to edit your Windows 10 hosts file. You can do that by running Notepad as Administrator and opening the C:\Windows\System32\drivers\etc\hosts file to add something like the following;
127.0.0.1 development.wslThat should get you going – now it’s up to you to let your creative juices flow with developing your plugins or themes! The good thing is, since most web servers run on Linux, you don’t have to worry any more about path differences or process differences between Windows and Linux when designing or thinking about your plugins. And spinning up a new server takes a matter of seconds, not minutes if you’re going the traditional Windows installation route. Use WSL2 and Docker to develop your WordPress site if you want to save time, and headaches in the long run.


